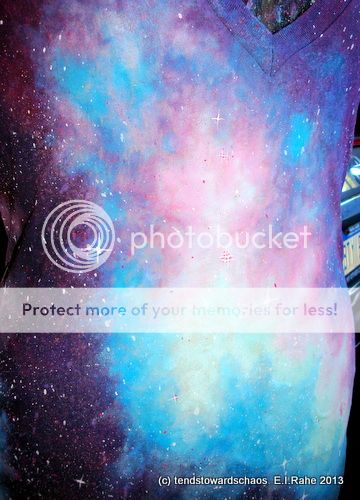
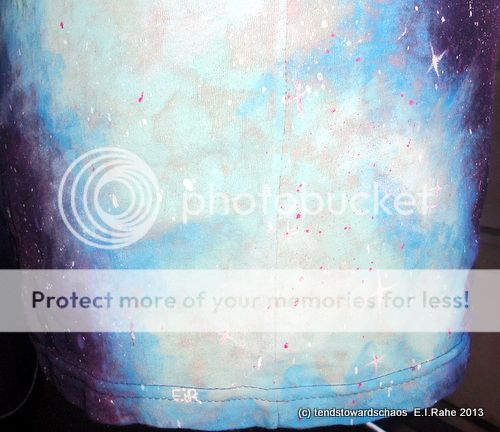
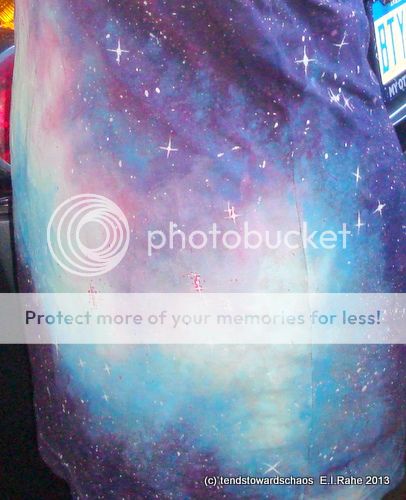
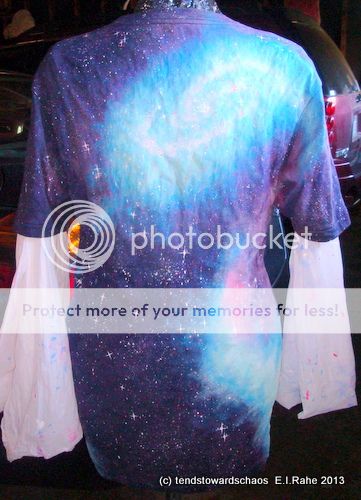
My most recent shirt started out as a navy blue, sheer jersey tee with a deep-V neck from American Apparel.
My dress form is covered with a garbage bag - to keep it safe from bleach and paint - with the gaps between sections being reinforced with packing tape, and 'sleeves' from two more bags taped to the shoulders.
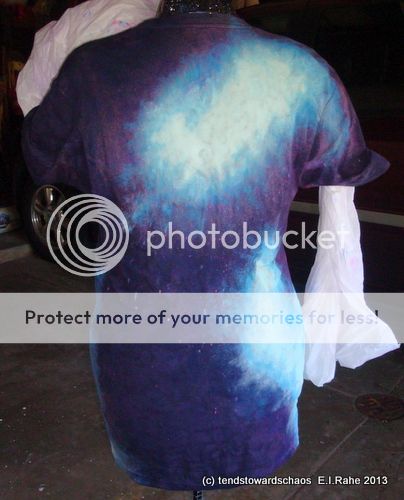
I use a 50/50 mix of bleach and water to bleach out sections of the shirt where I want to use a light-colored paint. The garment should be washed and dried first, or the fabric may not absorb the bleach/water, causing it to streak. Go easy on the bleach! More can always be added later, but it can't be taken away. This fabric wicked the moisture away so quickly that I ended up with larger bleached sections than I intended. I made it work.
Once it's bleached, I let it dry completely. I rinse it in cool water with a bit of vinegar to stop the bleaching action. Washed, dried, and back on the dress form.
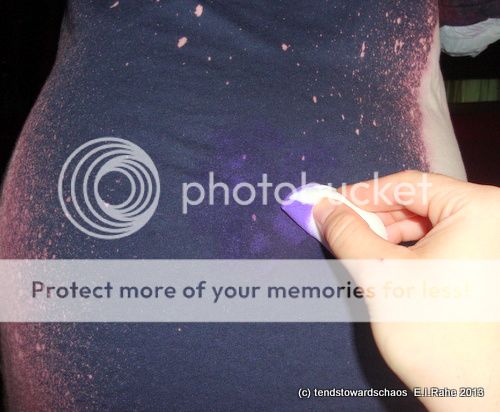
Mix the paint! I use acrylic paint mixed with textile medium. The first color is a deep purple, diluted with water (something like 50/50 by volume worked for me). I use a round cosmetics sponge and start by filling in the darkest areas. The entire black area doesn't need to be covered, it should look splotchy.
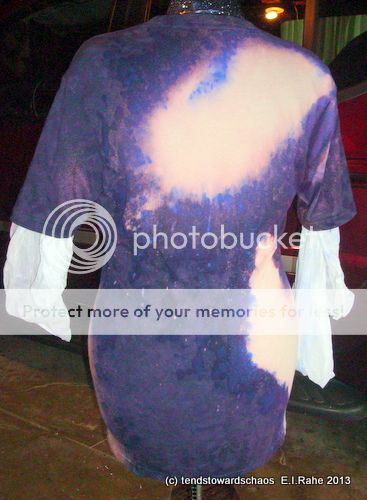
Next, using a water-diluted, dark blue, I blended the purple into the lighter sections...the blue approaches, and sometimes creeps into the bleached out areas. It looks like this:
The next color layer is a medium turquoise (or medium shade of whatever color you want, like pink). Again, it's diluted with water to make it translucent when applied. This color blends the blue into the light areas, and should extend into the bleached-out section. In the next photo, you'll see that I've started to add the turquoise on the right, but not on the left (see where the blue barely infringes on the bleached-out area?).
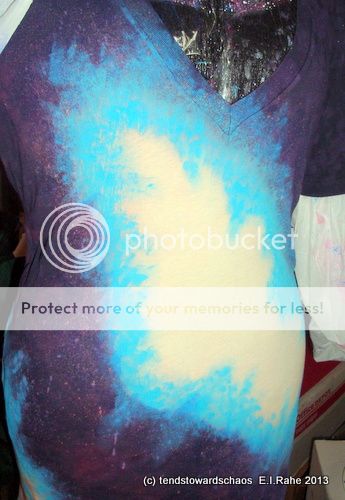
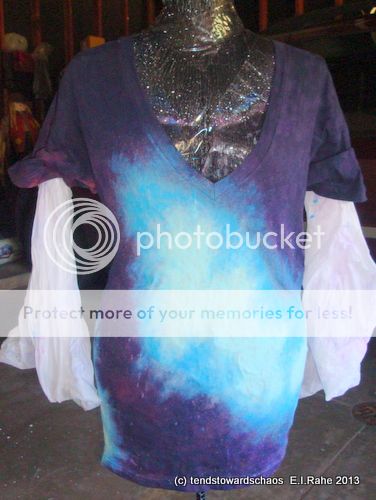
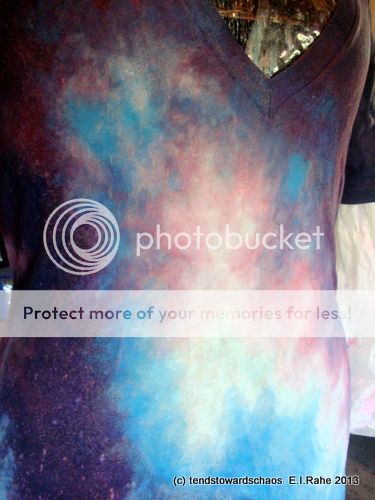
These photos show the turquoise completely surrounding the bleached section, and blending into and overlapping the blue:
Then, I used a very light blue/turquoise (or pink, if that's your colorway), diluted with water, to fill in the majority of the bleached-out areas. It's blended into the turquoise, and even a little into the blue and purple.
The next step took some guts, because this is when I switched colors and painted a contrasting layer to the nebulae. I used a medium to dark red, diluted, to add another layer of 'hot gases.' I added this color everywhere except the center-back of the shirt.
Using diluted, white paint, I added highlights within the nebulae and created the spiral in the galaxy (center-back).
That takes care of the sponge-painting portion of our craft-along!
Now, it's time to get out the drinking straws and some cups.
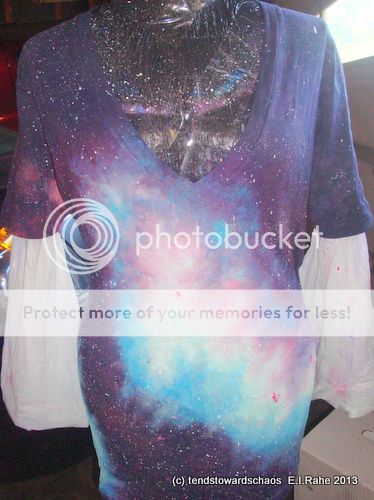
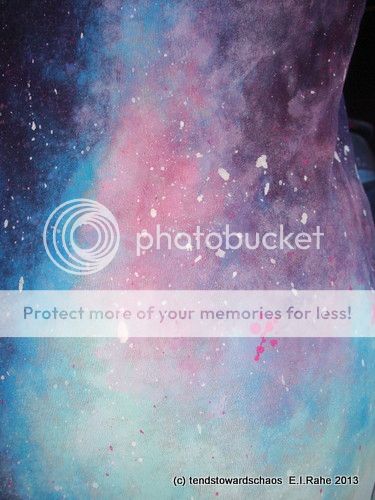
I mixed my paint/textile medium up in cups. I used several colors...white (obviously), dark pink, turquoise, light blue. This time around, no dilution necessary. The colors need to pop! I dip the end of the straw in paint, knock off a bit of the excess on the sides of the cup, then...blow. Instant stars!
I inevitably get strange splatters, drips, and clusters.
They just become the brightest stars in the sky...with the help of a very tiny paintbrush.
And, I'm spent!
After the paint is dry, the shirt needs to come off the dress form and the paint needs to be heat-set. I cover the shirt with a pillowcase and iron it on whatever setting is appropriate for the fabric. After setting the paint, the shirt can be washed and dried as usual. The more it is laundered, the softer it gets.
My color palette, if you're interested:


